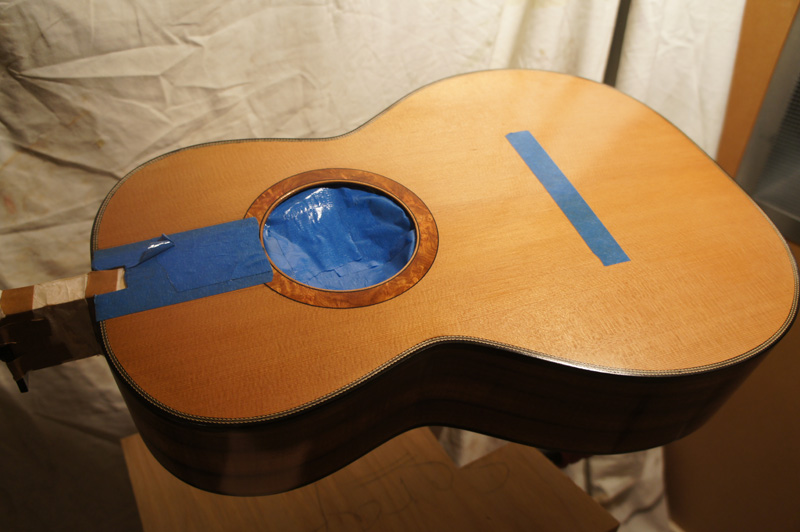
I have started to pore fill with zpoxy. The pictures are with the guitar just after I applied my second coat. The neck just has one coat.
March 10th 2012
I have been a little distracted working on my bass, but little by little on the parlor I have been leveling the zpoxy, fillings small gaps and I finish sanded the top cleaning a few dings and the like. Actually I finally got the nerve to try my new spray gun. With the completed shop with piped in air, I call Jeff Jewitt at Homested brush (highly recommended). I described what I do, the finishes I use and my compressor and he suggested the QS-125QB. It is a small gun but it sure sprays like a dream. I was quickly able to dial in the amount of finish and the spray pattern. I managed for the first time to spray 4 very even coats, with virtually no orange peel and no drips. I am spraying Stewmac Colortone water base. I have heard that it is basically EM6000. The is my 4th guitar from a gallon I bought a year ago.
March 18th 2012
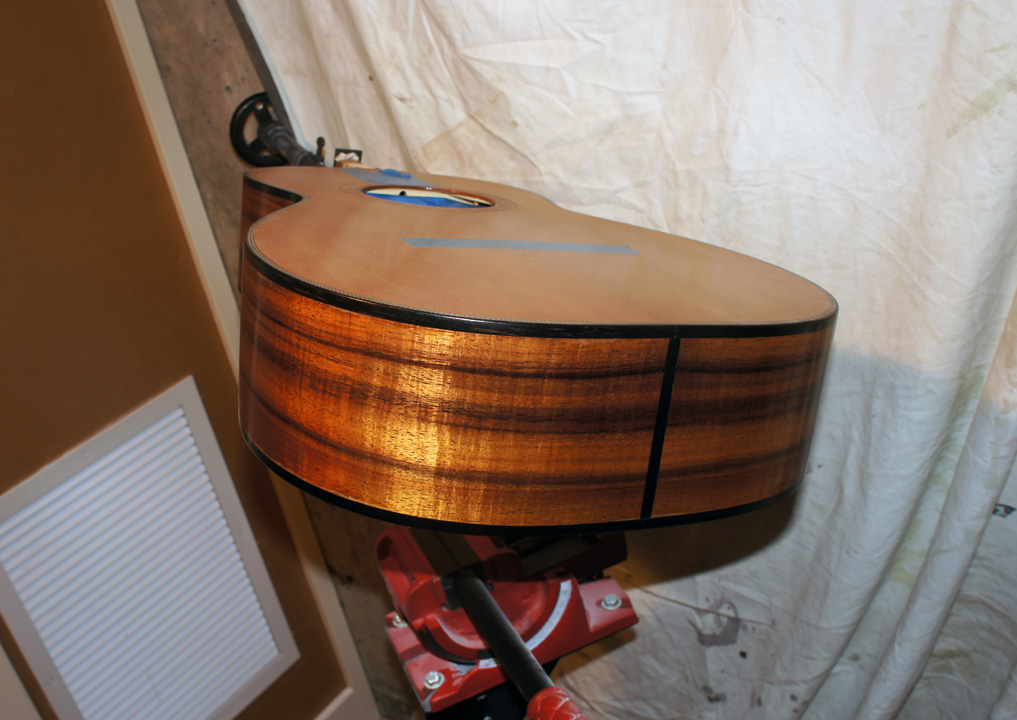
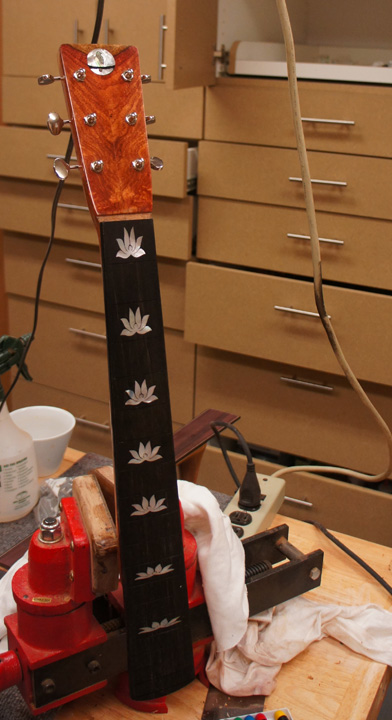
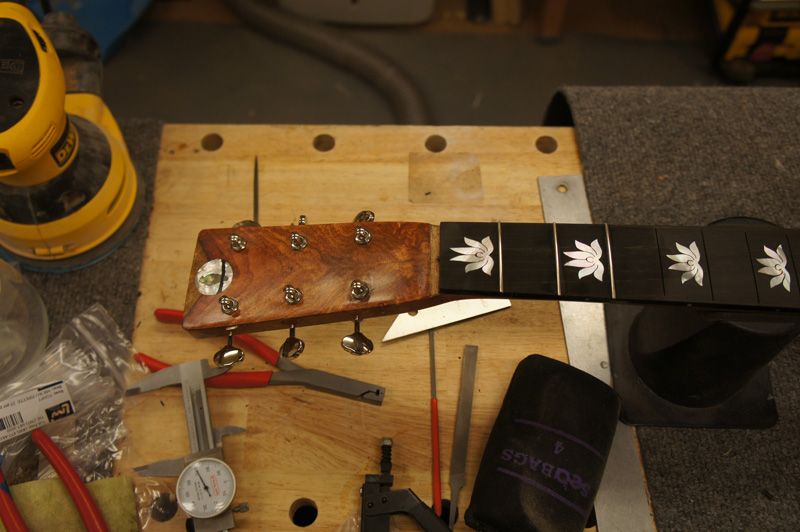
I finished spraying the parlor guitar yesterday. I ended up with 16 coats on the back and sides with eight on the top and neck. I leveled every 4 coats. It only took a very light sanding the last two times I leveled. I actually polished out the neck as I finished spraying it last week. It was perfect but I cracked the finish a tiny bit pounding in the bushings. Oh well plenty of time to slowly build up a repair with the WB lacquer.
March 31th 2012
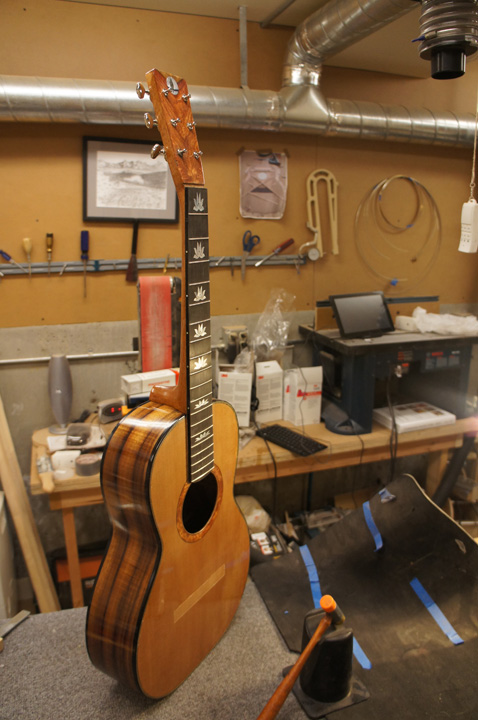
I am getting so close. I still need to glue on the bridge and make the nut and saddle.
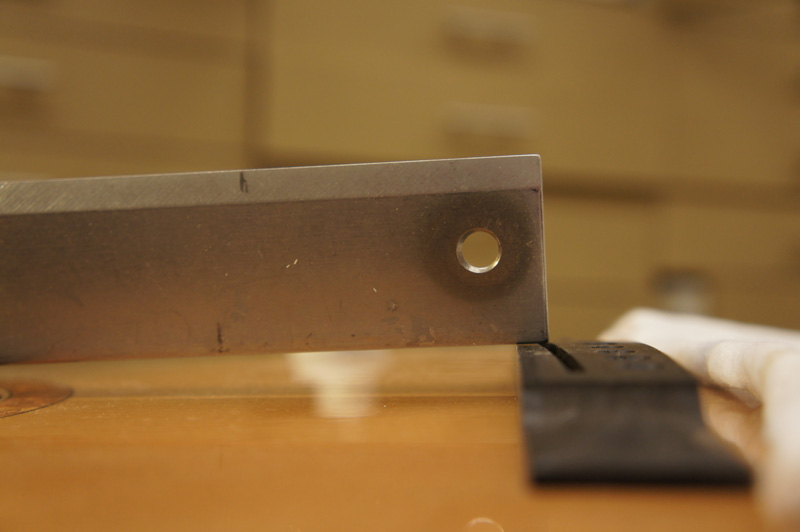
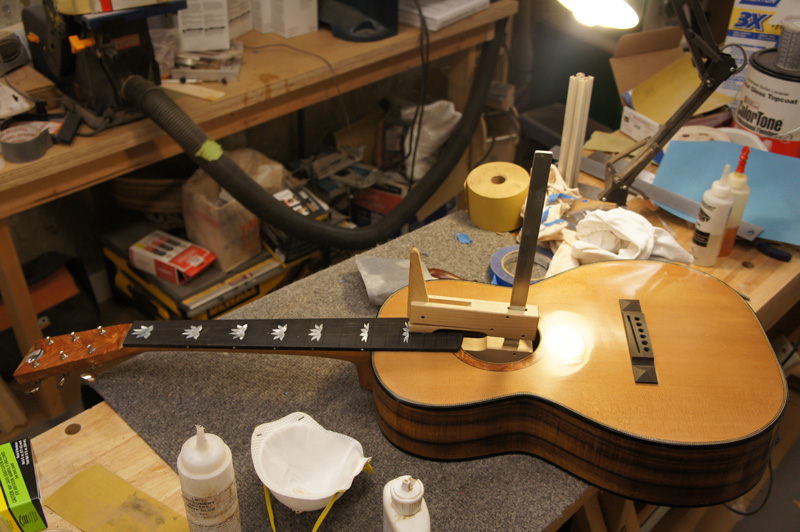
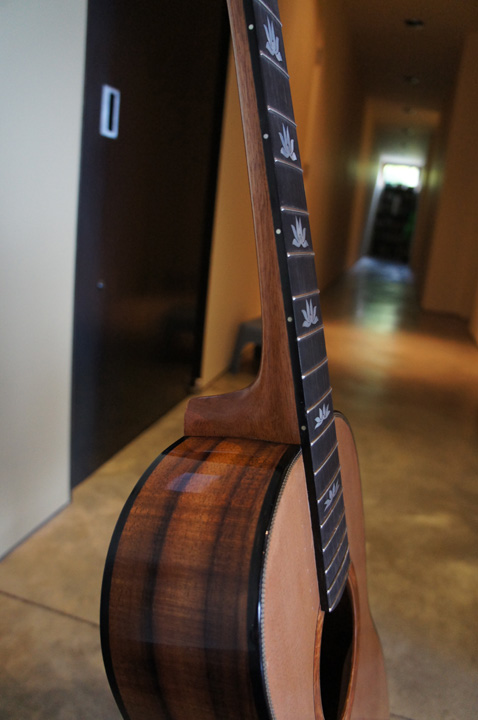
Today I polished the top, checked the neck angle before I glued it on. The neck angle ended up right where
I wanted with the smallest bit of fall off. When I set the frets I ended up not having to sand them level and
re-crown as the fretboard was dead level when I started and the frets all set well.
Ended for a this afternoon or I will start rushing.
April 1st 2012
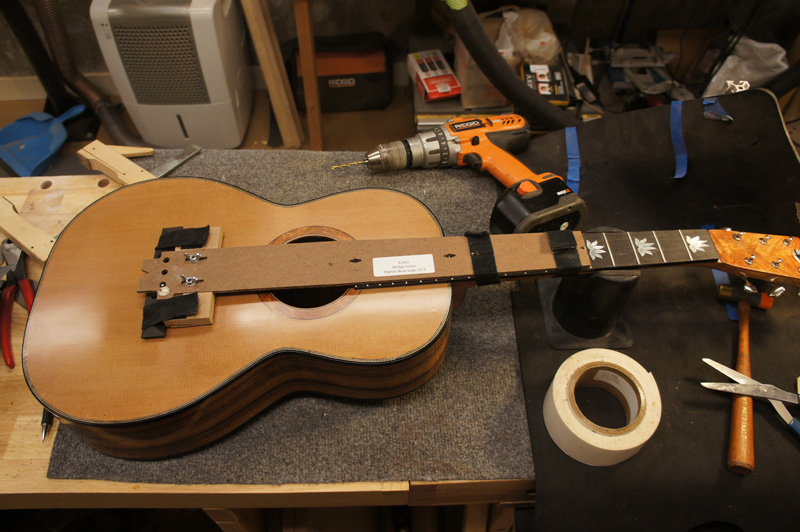
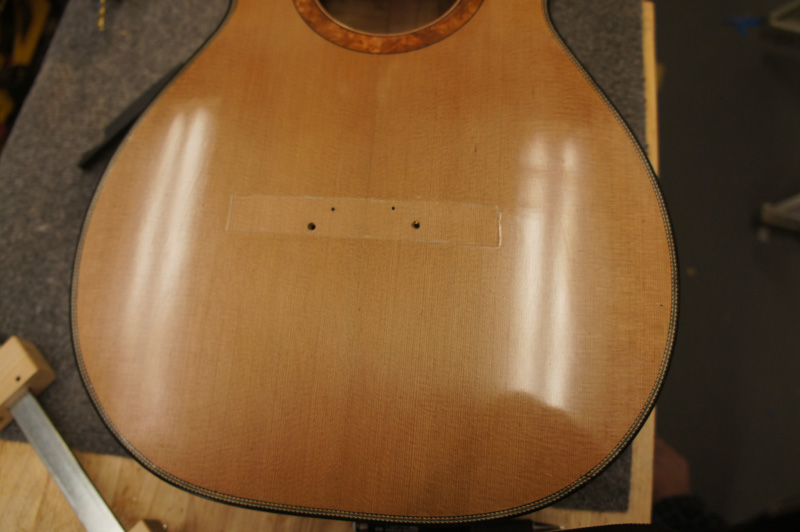
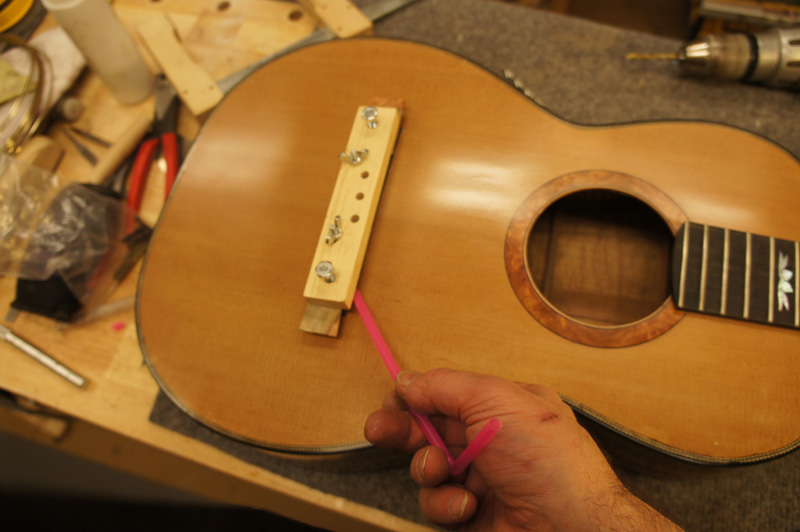
This is the last construction step before setup. I used my KMG bridge setting tool for the short Martin scale to perfectly set the bridge. My taped area was a little smaller than the bridge. Once I set the bridge I bolted it down through the E-strings and with a sharp exacto knife cut the perfect edge for the bridge. I then worked my way to the line with a very sharp chisel. Once the bridge (sanded to a 28' radius) fit perfectly on the top. I used my KMG bridge clamp to glue it down.
Later that day ...
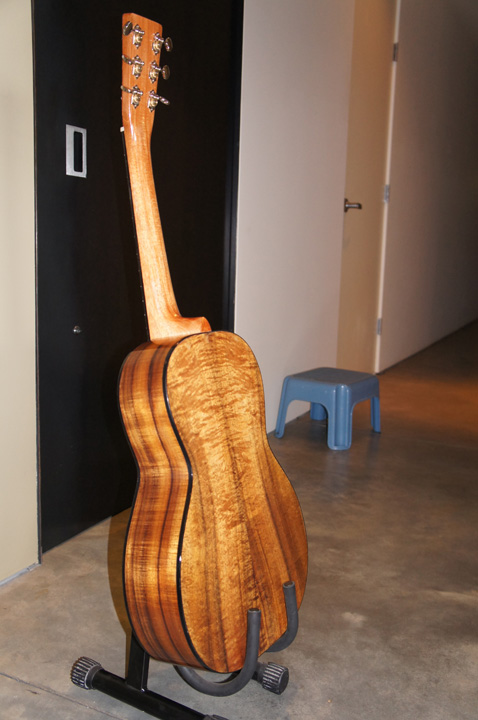
I just finished this guitar. I want to wait a day before I string the guitar up,
I am waiting for the bridge glue to cure before I string it up. But other than that that I am ready to go.
The Guitar was shipped to Ann May 21st 2012 and she received it the following Wednesday. I was a little slow shipping
the guitar as I played it for a week or so.
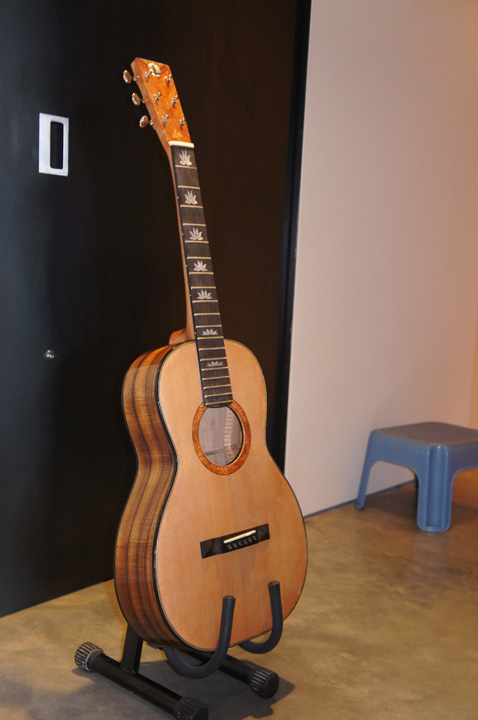
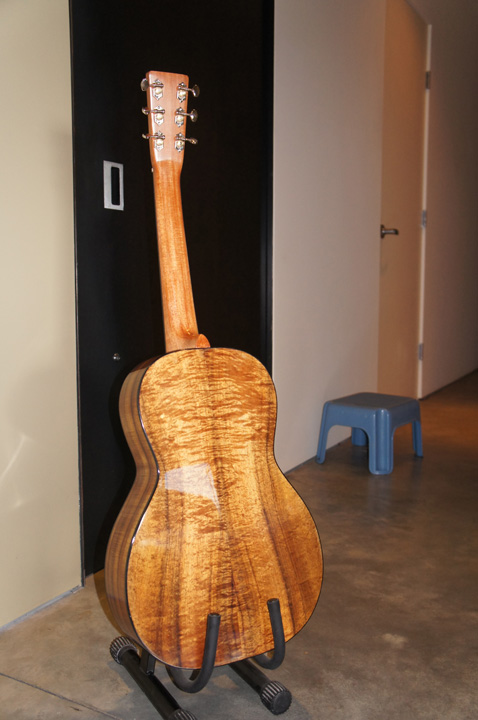
Koa\Cedar guitar that I made for my niece being played poorly by me


 Later that day ...
I just finished this guitar. I want to wait a day before I string the guitar up,
I am waiting for the bridge glue to cure before I string it up. But other than that that I am ready to go.
Later that day ...
I just finished this guitar. I want to wait a day before I string the guitar up,
I am waiting for the bridge glue to cure before I string it up. But other than that that I am ready to go.
 The Guitar was shipped to Ann May 21st 2012 and she received it the following Wednesday. I was a little slow shipping
the guitar as I played it for a week or so.
The Guitar was shipped to Ann May 21st 2012 and she received it the following Wednesday. I was a little slow shipping
the guitar as I played it for a week or so.